A well-made wooden tool box with drawers can be a valuable addition to any workshop. Not only does it provide a convenient place to store your tools, but it can also help keep your work area organized and tidy. In this article, we will discuss the various factors you need to consider when making a wooden tool box with drawers, as well as provide product reviews and useful tips for those who are interested in making their own.
Table of Contents
Tools and materials for assembling a wooden tool box
In order to assemble a wooden tool box with drawers, you will need the following tools and materials:
- A drill: This will be used to create the holes for the screws that will hold the tool box together.
- A saw (preferably a circular saw): This can be either a hand saw or a power saw, depending on what you have available. You will need this to cut the wood to size.
- A measuring tape: This is necessary for ensuring that all of the pieces of wood are cut to the correct size.
- Wood glue: This will be used to attach the different pieces of wood together.
- Clamps: These are necessary for holding the pieces of wood in place while the glue dries.
- Sandpaper (coarse and fine grit): This will be used to smooth out any rough edges on the wood.
- Paint or stain: This is optional, but it can be used to finish the tool box and make it look more attractive.
- A router: This is optional, but it can be used to create decorative edges on the wood.
- Drawer pulls: These are also optional, but they can be used to add a finishing touch to the tool box.
- Lumber (enough to build the desired size of tool box): The type of wood you use is up to you, but it is important to make sure that it is strong enough to support the weight of the tools. [1]
Now that you have all of the tools and materials you need, you are ready to start assembling your wooden tool box with drawers.
Step-by-step instruction
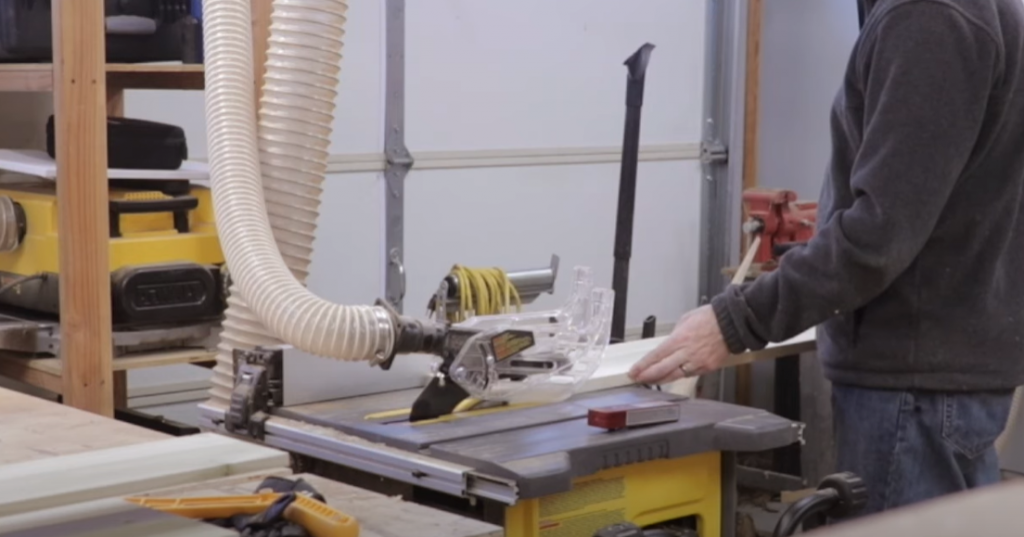
Once you have gathered all of the necessary tools and materials, you are ready to begin assembly. The steps of making a wooden tool chest with drawers are shown below:
- Step One: Cut the lumber to size.
- Step Two: Assemble the frame of the tool box.
- Step Three: Attach the bottom panel.
- Step Four: Cut and attach the drawer fronts.
- Step Five: Cut and attach the drawer backs.
- Step Six: Cut and attach the drawer sides.
- Step Seven: Attach the handles or knobs (optional).
- Step Eight: Finish with paint or varnish (optional).
Build the Case
Building the case is relatively simple. You will need to cut four pieces of lumber.
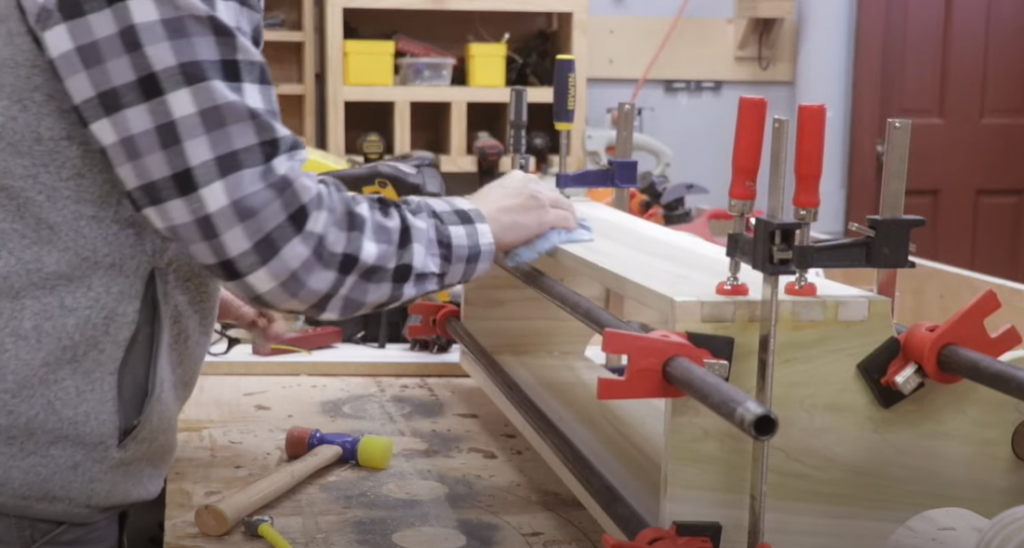
Once you have cut all of your pieces to size, use wood glue and clamps to attach the sides to the bottom piece. Be sure to align the edges so that they are flush with one another. Next, attach the top piece in the same manner. Allow the glue to dry completely before moving on to the next step.
Now that your case is assembled, it is time to move on to the drawers.
Building the drawers is a bit more involved, but still relatively simple. You will need to cut eight pieces of lumber for the drawer fronts and backs, as well as the drawer bottoms. Once you have all of your pieces cut, use wood glue and clamps to attach the drawer fronts and backs to the sides. Be sure to align the edges so that they are flush with one another.
The final step is to add any desired finishing touches. If you want, you can sand the entire tool box and then paint or varnish it. This will help protect the wood and keep your tool box looking its best for years to come.
Assembling a wooden tool box with drawers is a relatively simple project that can be completed in a weekend. With a little time and effort, you will have a beautiful and functional tool box that will last for years.
Once you have your tool box assembled, it is time to fill it with all of your favorite tools. Be sure to carefully choose the tools that you will need based on the projects that you plan to complete. With the right tools, you will be able to tackle any project with confidence.
Now that you know how to make a wooden tool box with drawers, it is time to get started on your own project. Be sure to carefully select the lumber and hardware that you will need before getting started. With a little planning and effort, you will be able to create a beautiful and functional tool box that will last for years. [2]
Drawer Construction
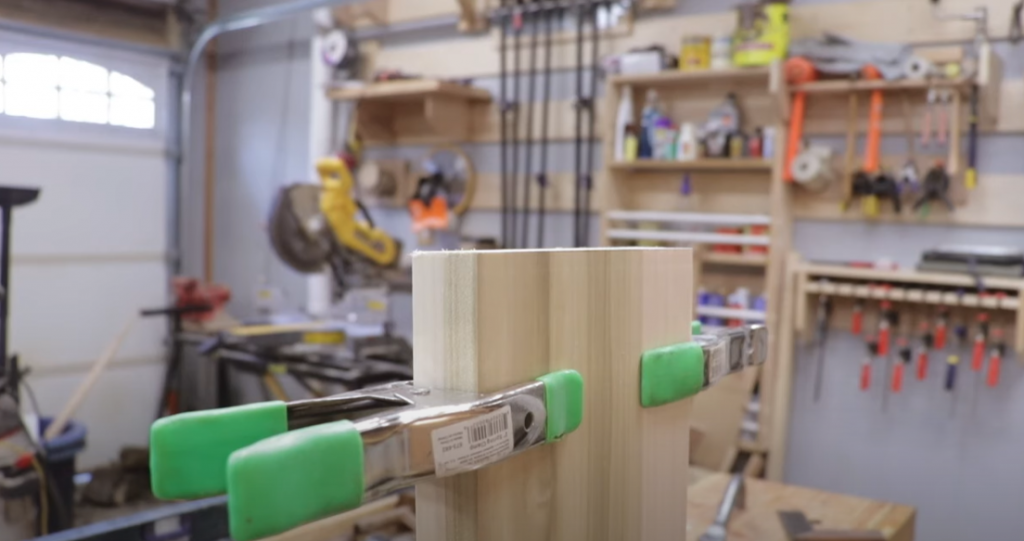
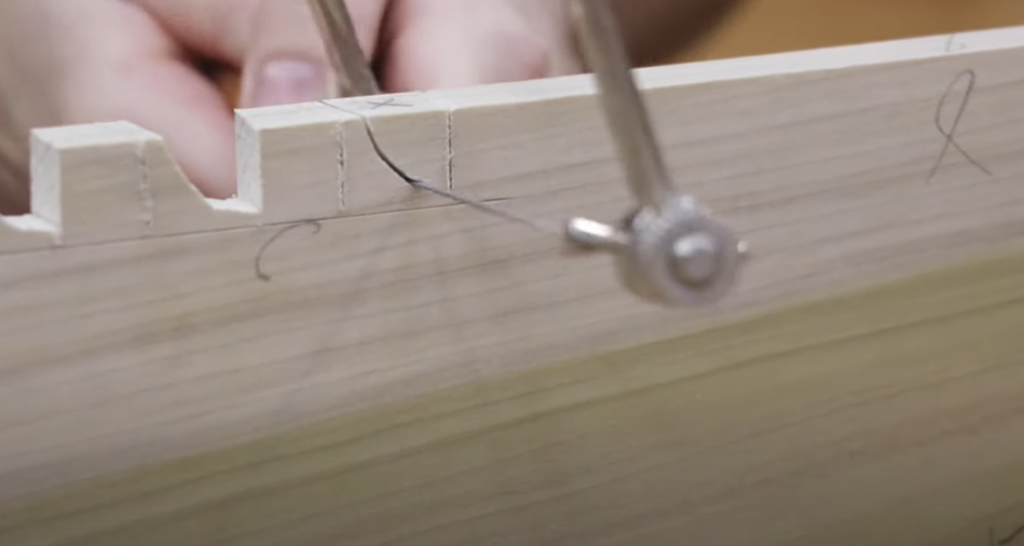
One of the most important aspects of choosing the right wood for your tool box is the drawer construction. There are two main types of drawer construction, dovetail and rabbet. Dovetail drawers are more expensive, but they’re also much stronger and will last longer. Rabbet drawers are cheaper, but they’re not as strong and can eventually start to sag. If you’re on a budget, rabbet drawers are probably the way to go. But if you want something that will last a long time, dovetail drawers are the way to go.
Another thing to consider when choosing the right wood for your tool box is the type of finish you want. You can get unfinished wood, which is cheaper but requires more work to finish. Or you can get finished wood, which is more expensive but doesn’t require as much work. unfinished wood is a good choice if you’re on a budget, but it’s not going to look as good as finished wood. Finished wood is a better choice if you want your tool box to look its best.
Next, you need to decide what material you want your drawer pulls to be made from. The most common materials are wood, metal, and plastic. Wood is the most expensive but it looks the best. Metal is less expensive but it can rust over time. Plastic is the least expensive but it doesn’t look as good as wood or metal.
Finally, you need to decide how many drawer pulls you want. The most common sizes are three inches and four inches. Three-inch pulls are less expensive but they can be harder to grip when you’re trying to open a drawer. Four-inch pulls are more expensive but they’re easier to grip and look more elegant.
Finishing
The next step is to finish your box. You can use any type of finish you like, but make sure it is compatible with the wood you are using. A good option for most woods is a clear polyurethane. This will protect your box from moisture and wear and tear. You can apply the finish with a brush or a rag, and be sure to let it dry completely before using your new tool box.
With these simple steps, you can easily make a wooden tool box with drawers that will last for years. Be sure to take care of your new box, and it will serve you well in all your future projects. [3]
Useful tips when assembling a wooden tool box
When building a wooden tool box with drawers, here are some pointers to keep in mind:
- Always use a level when measuring and attaching the drawer slides. This will ensure that your drawers open and close smoothly.
- It is also important to make sure that the drawer slides are properly aligned with the drawer openings. Otherwise, the drawers will not fit correctly.
- When attaching handles or pulls to the drawers, be sure to use screws that are long enough to go through the thickness of the drawer fronts. Otherwise, the handles may come loose over time.
- Be sure to sand all of the edges of your tool box smooth before finishing. This will help prevent splinters and give it a professional look.
- If you want to paint or stain your tool box, do so before attaching the drawer slides. This will make it easier to reach all of the nooks and crannies. [4]
Assembling a wooden tool box with drawers is a relatively easy project that can be completed in a few hours. With just a few tools and some basic woodworking skills, you can create a beautiful and functional piece of furniture. Just be sure to take your time and measure twice before cutting once. With these tips, your tool box will last for years to come.
FAQ
How do you make a tool cabinet with drawers?
If you’re looking for a handy and stylish way to organize your tools, consider building a wooden tool box with drawers. This type of storage unit is not only functional, but it can also be a great addition to your home workshop or garage. Plus, it’s a relatively simple woodworking project that even beginning do-it-yourselfers can tackle. Here’s a step-by-step guide to help you build your own wooden tool box with drawers.
First, gather your materials. You’ll need a sheet of plywood, a piece of hardboard or Masonite for the bottom, some wood screws, wood glue, drawer pulls, and sandpaper. You’ll also need a saw and drill.
Next, cut the plywood to size. You’ll need two pieces for the sides, one piece for the back, and one piece for the front. The hardboard or Masonite bottom will fit into a groove that you’ll cut into the side pieces later on.
Now it’s time to start assembling your box. Begin by attaching the back piece to the two side pieces using wood screws and glue. Then, add the front piece. Again, use wood screws and glue to secure it in place.
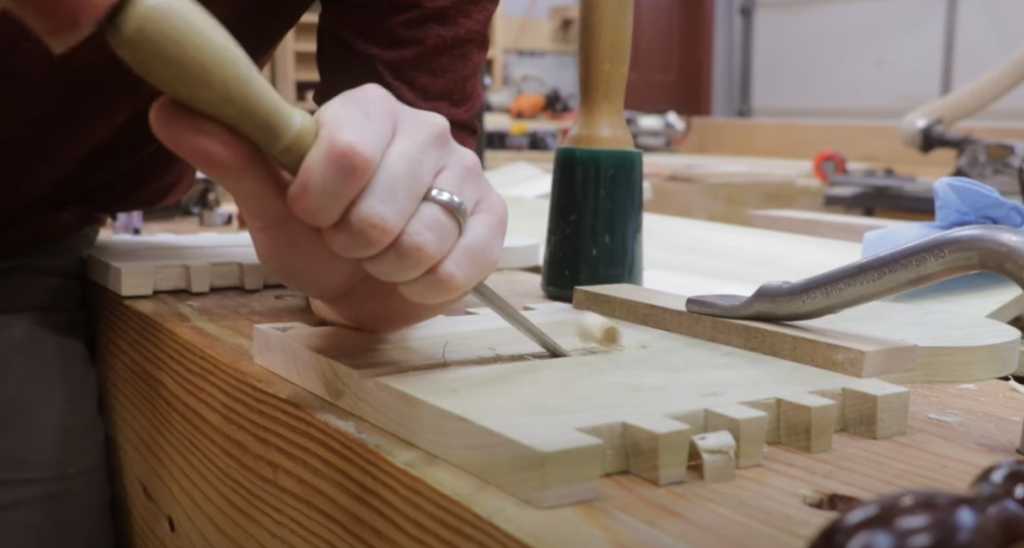
Once the box is assembled, cut a groove into the two side pieces for the hardboard or Masonite bottom. The best way to do this is to use a router. However, if you don’t have one, you can use a chisel and mallet.
Before attaching the bottom piece, drill some holes for the drawer pulls. Then, add the bottom piece and screw it into place.
Finally, finish up your tool box by sanding down all of the edges and adding a coat of paint or stain.
What kind of wood should I use for a toolbox?
There are a few things to consider when deciding what kind of wood to use for your toolbox. The most important factor is probably the durability of the wood. You want to make sure that the wood you choose will be able to withstand regular use and wear and tear. Another thing to consider is the weight of the wood. If you’re planning on carrying your toolbox around with you, you’ll want to choose a lighter wood so that it’s not too difficult to carry.
Some popular woods for making tool boxes include pine, maple, and oak. Pine is a good choice because it’s lightweight and relatively inexpensive. Maple is also lightweight but is more expensive than pine. Oak is a good choice for durability, but it’s heavier than both pine and maple.
Once you’ve decided on the type of wood you want to use, it’s time to choose the size of the lumber. For a standard toolbox, you’ll want to use boards that are at least one inch thick. Thicker boards will be more durable, but they will also be more difficult to work with. If you’re not experienced in woodworking, it’s probably best to stick with the one-inch boards.
Once you’ve chosen the lumber, it’s time to cut it to size. You’ll want to make sure that the boards are all the same length so that they fit together nicely. It’s also a good idea to sand the edges of the boards so that they’re nice and smooth.
What tools do I need to make a wooden box?
The first thing you’ll need to do is gather your supplies. For this project, you’ll need a saw, clamps, drill, dowel jig, T-bar clamp, belt sander, wood glue, wood screws, wire brush (optional), and finish of your choice (stain, paint, etc.). You’ll also need a piece of plywood or MDF for the bottom of your box, and some wood for the sides, top, and front/back. The type of wood you use is up to you, but we recommend something sturdy like oak or maple.
Once you have all of your supplies, it’s time to start building! Begin by cutting your plywood or MDF to size. You’ll want the bottom of your box to be slightly smaller than the top, so that the lid fits snugly. Next, cut your side pieces and front/back pieces to size. If you’re using drawers, now is a good time to drill some holes for the drawer pulls.
Now it’s time to start assembling your box. Begin by attaching the sides to the bottom piece using wood screws and glue. Make sure the screws are countersunk so that they’re flush with the surface of the wood. Once the sides are attached, you can attach the front and back pieces. Again, use screws and glue for added strength.
Now it’s time to add the top. Cut your top piece to size and attach it to the rest of the box using screws and glue. If you’re adding drawers, this is also the time to do that. Simply measure out where you want the drawer openings to be, cut them out with a saw, and then attach the drawer fronts using screws and glue.
Once your box is assembled, it’s time to finish it off. If you’re using stain, apply it evenly with a brush and allow it to dry according to the manufacturer’s instructions. If you’re painting your box, apply a primer first and then paint it with whatever color you like.
What materials are used to make a tool box?
There are a few different types of materials that can be used to make a tool box. The most common type of material is wood. Other materials include plastic and metal.
When it comes to choosing the right material for your tool box, it is important to consider what type of tools you will be storing in it. If you plan on storing heavy duty tools, then a metal tool box would be the best option. If you only plan on storing light duty tools, then a wooden tool box would be fine.
Another thing to consider when choosing the right material for your tool box is the climate. If you live in an area with high humidity, then a plastic or metal tool box would be the best option. If you reside in an area with little to no humidity, then a wooden tool box would do just fine.
What are the four sections of the tool box?
Most people don’t realize that there are four distinct sections to a tool box. The top section is where you keep your most frequently used tools. The second section is for larger items such as saws and hammers. The third section is for smaller items such as screws and nails. The fourth and final section is for miscellaneous items such as tape measures and levels.
When you are planning on how to make a wooden tool box with drawers, it is important to take into account the number of sections you will need. This will ensure that you have enough space for all of your tools. It is also important to decide what kind of drawer slides you want to use. There are two main types of drawer slides: ball bearing and roller. Ball bearing slides are more expensive but they offer a smoother operation. Roller slides are less expensive but they can be more difficult to operate.
The next step is to choose the type of wood you want to use. The most popular type of wood for tool boxes is oak. Oak is a strong and durable wood that will last for many years. You can also use pine or cedar if you prefer. Once you have chosen the type of wood, you need to decide on the size of the tool box. The size will depend on the number of tools you plan on storing in it.
How many tools are there in the toolbox?
There are a total of eight tools in the box: a hammer, saw, screwdriver, drill, measuring tape, level, screws and nails. The first step is to find a suitable piece of wood. You can either use new lumber or recycled wood. If you’re using recycled wood, make sure that it’s strong enough to support the weight of the tools.
Next, you’ll need to cut the wood to size. The dimensions will depend on the size of the tools that you’re going to be storing in the box. Once you have all of the pieces cut to size, it’s time to start assembling them.
Start by attaching the sides of the box to the bottom piece. Then, add the drawer fronts and backs. Make sure that the drawers are level before attaching them to the sides of the box.
Finally, add the handles to the drawer fronts and you’re done! Your new wooden tool box with drawers is now complete.
If you follow these steps, your tool box should be sturdy and durable. It’s the perfect way to store your tools and keep them organized.
Which material is best to make tools?
There are a variety of materials that can be used to make tools, but the most popular and durable option is wood. Wood is strong and sturdy, making it ideal for holding heavy-duty tools. It’s also relatively easy to work with, so you’ll be able to create a beautiful tool box without too much difficulty.
If you’re looking for a more traditional option, then oak is always a good choice. Oak is very strong and will last for many years. However, it can be quite expensive, so if you’re on a budget, then pine is a great alternative. Pine is just as strong as oak but doesn’t cost as much money.
Whichever material you choose, make sure that it’s of high quality. You don’t want your tools to break after just a few uses, so it’s worth spending a bit extra to get something that’s built to last.
Once you’ve chosen your material, it’s time to start thinking about the design of your tool box. If you’re not sure where to start, then take a look at some of the following tips.
How do you waterproof a wood storage box?
To waterproof your wood storage box, you’ll need to purchase a sealer or waterproofing agent specifically designed for this purpose. You can find these products at most hardware stores. Once you have the sealer, simply apply it to the outside of the box using a brush or roller. Be sure to follow the manufacturer’s instructions carefully so that you don’t damage the wood.
Waterproofing your storage box will help protect it from the elements and keep your belongings dry. It’s a good idea to do this before you use it for storing anything, just to be safe.
Another option for waterproofing your box is to line it with a plastic sheet or liner. This will create an additional barrier between the contents of the box and the elements. You can find these liners at most hardware or home improvement stores.
No matter which method you choose, be sure to apply the waterproofing agent before you store anything in the box. This will help ensure that your belongings stay dry no matter what the weather is like outside.
Useful Video: How to Make a Wooden Tool Chest – Free Plans!
Conclusion
So there you have it, everything you need to know about making your very own wooden tool box with drawers! We hope you found this article helpful and that you now feel confident enough to tackle this project yourself. If you have any questions or comments, please leave them below and we’ll be happy to help. Thanks for reading!
References:
- https://makesomething.com/tutorials/toolbox
- https://www.instructables.com/Build-a-Woodworkers-Toolbox/
- https://www.popularmechanics.com/home/how-to-plans/how-to/a4417/2417126/
- https://craftswright.com/blog/how-to-make-a-wooden-tool-chest-with-drawers





Leave a Reply